はじめに
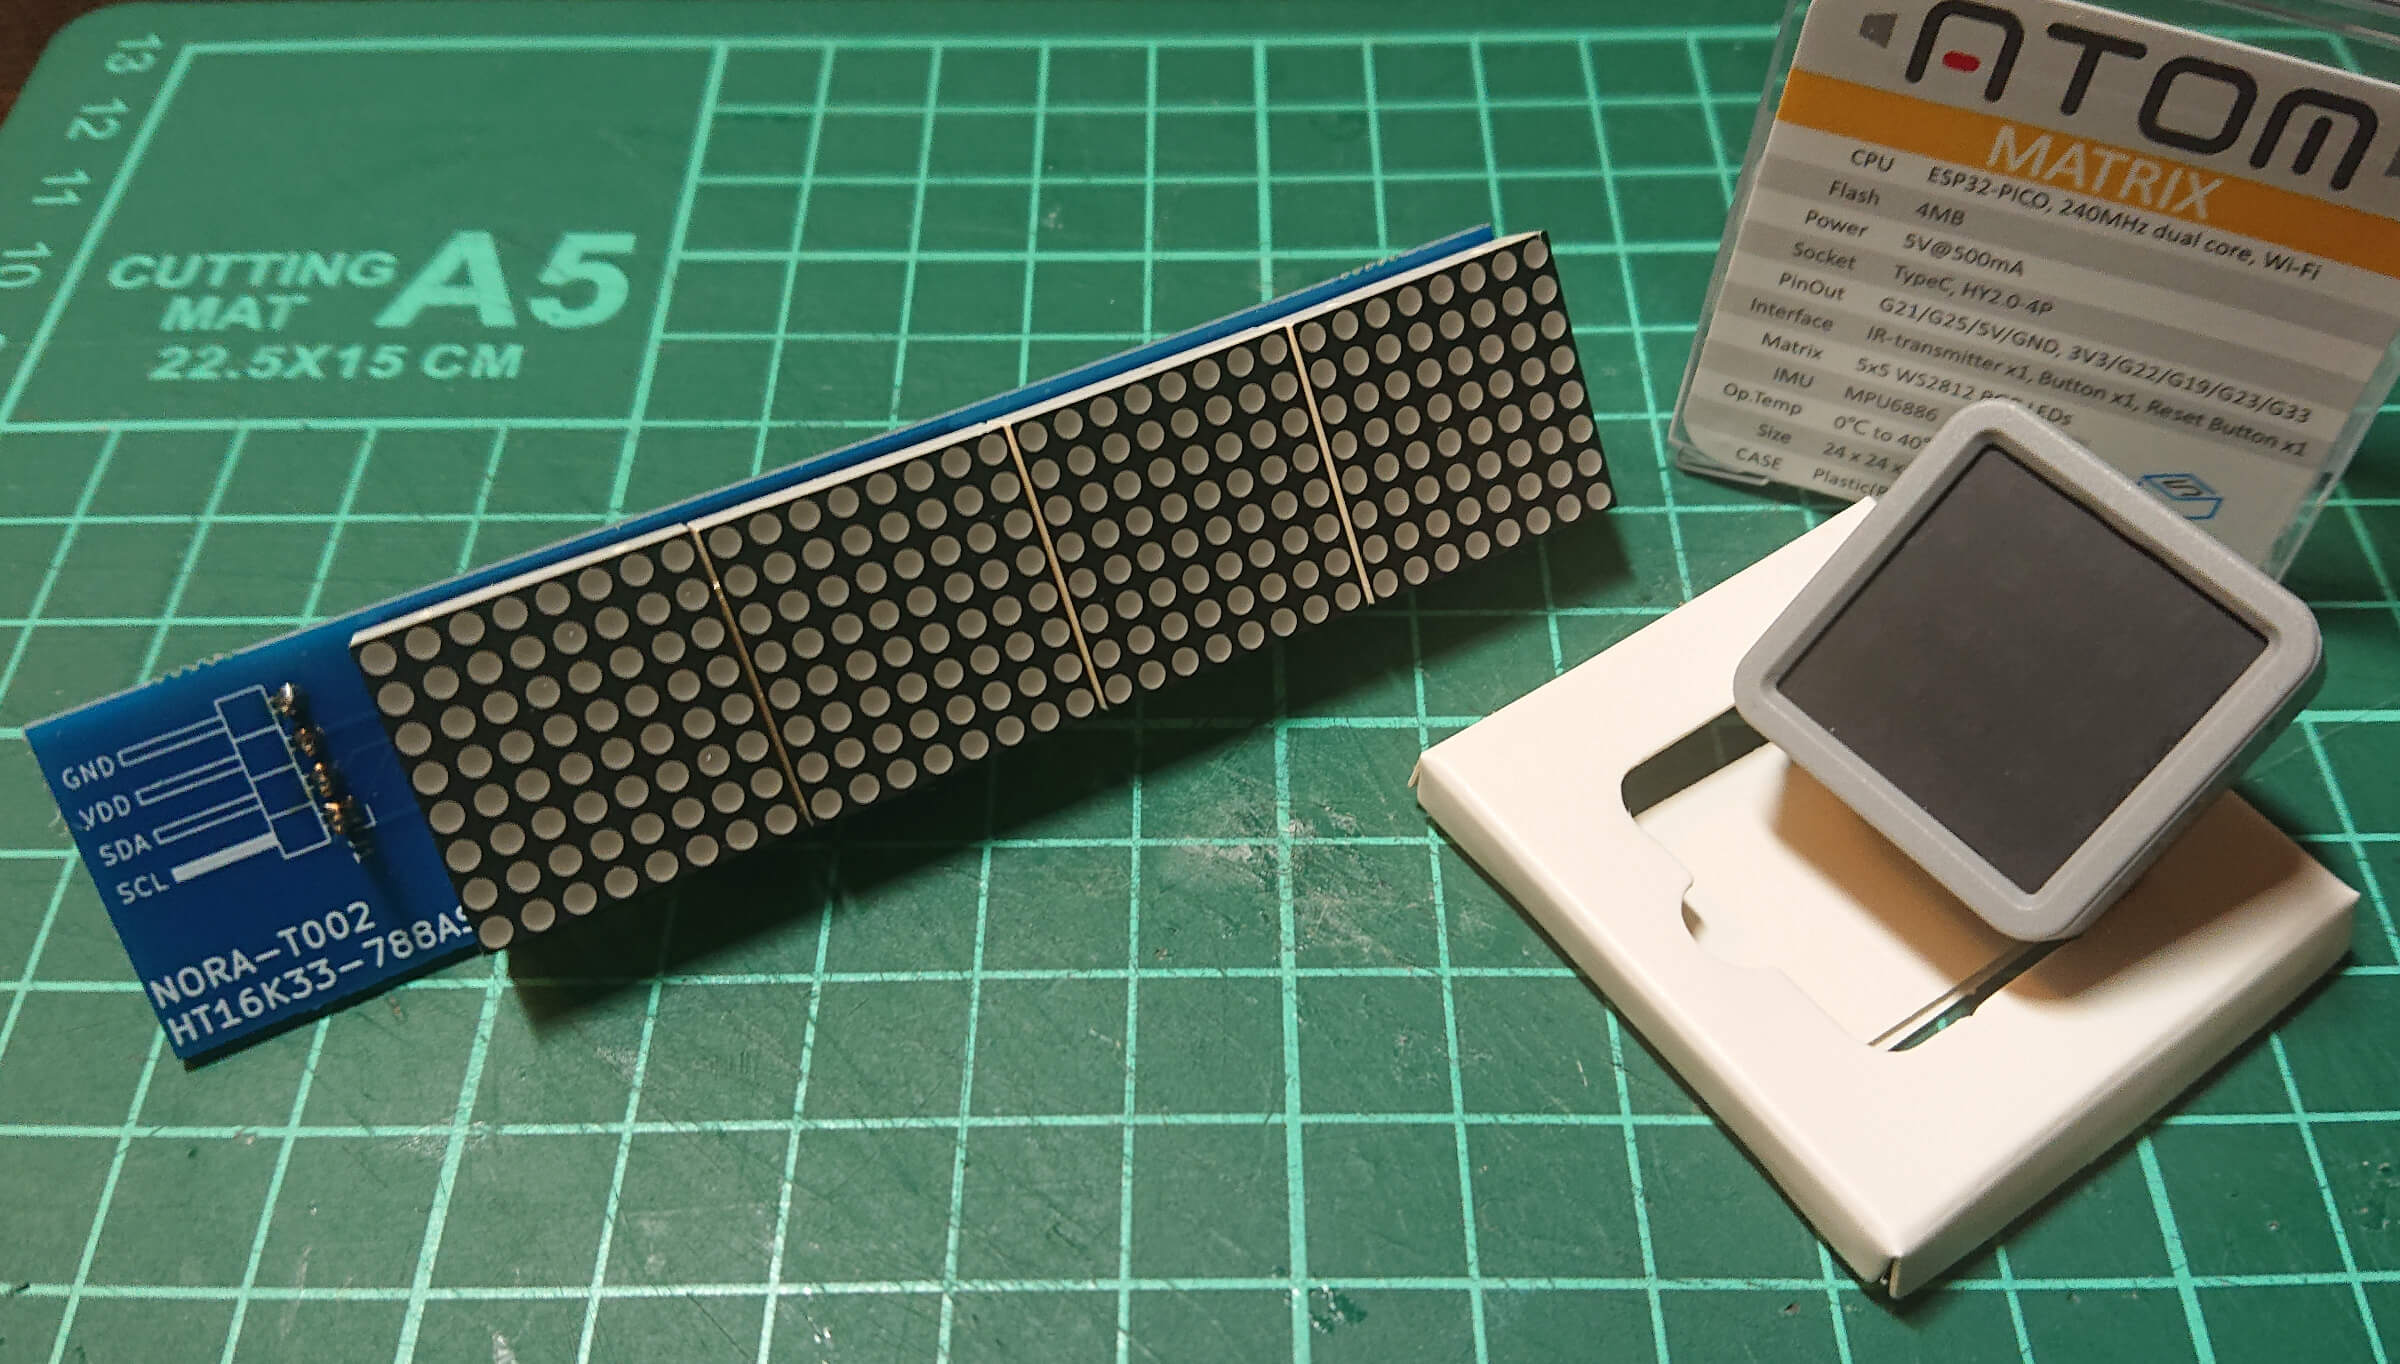
数年前にたまたま某店頭で見つけた MINI LED BADGE.当時は M5Stack の存在は知っていたものの,どんなものなのかは知らなかったし,実機も見たことがなかった.
衝動買いからはや数年.M5Atom を買ってしまったので,触ってみる.

MINI LED BADGE | ProtoPedia
これはM5Atom liteまたはM5Atom matrixに装着する野良LEDバッジです。
MINI LED BADGE
M5Atom は今回始めて使うけど,日本語のドキュメントが充実してきているおかげで導入は簡単.
m5-docs
The reference docs for M5Stack products. Quick start, get the detailed information or instructions such as IDE,UIFLOW,Ar...
LED の制御には HT16K33 が 2 個使われている.このドライバー自体は使ったことがあり,仕様は把握してるので,イチからコードを書こうかと思っていたが, Adafuit のライブラリが使えるということでありがたく使わせてもらう.

Adafruit LED Backpacks
What's better than a single LED? Lots of LEDs! The matrices use a driver chip that does all the heavy lifting for you: T...
色々あって,適当に作ったコードがこちら.
#include "M5Atom.h"
#include "Adafruit_LEDBackpack.h"

Adafruit_8x16matrix matrix1 = Adafruit_8x16matrix();
Adafruit_8x16matrix matrix2 = Adafruit_8x16matrix();

void setup() {
  M5.begin(true, true, true);
    // bool SerialEnable, bool I2CEnable, bool DisplayEnable
    // Default Serial Rate = 115200
  delay(10);

  matrix1.begin(0x70);  // pass in the address
  matrix1.setBrightness(0x01);
  matrix1.setRotation(3);
  matrix1.setTextSize(1);
  matrix1.setTextWrap(false);
  matrix1.setTextColor(LED_ON);

  matrix2.begin(0x71);  // pass in the address
  matrix2.setBrightness(0x01);
  matrix2.setRotation(3);
  matrix2.setTextSize(1);
  matrix2.setTextWrap(false);
  matrix2.setTextColor(LED_ON);
}

void loop() {
  for (uint8_t y = 0; y < 8; y++ ) {
      matrix1.clear();
      matrix2.clear();

    for (uint8_t x = 0; x < 16; x++ ) {
      matrix1.drawPixel(x,y,LED_ON);
      matrix2.drawPixel(x,y,LED_ON);

      matrix1.writeDisplay();
      matrix2.writeDisplay();
      delay(10);
    }
  }

  for( int8_t x = 0; x >= -64; x--){
    matrix1.clear();
    matrix1.setCursor(x +16, 0);
    matrix1.print("Hello!");

    matrix2.clear();
    matrix2.setCursor(x +32, 0);
    matrix2.print("Hello!");

    matrix1.writeDisplay();
    matrix2.writeDisplay();
    delay(20);
  }

  M5.update();
}
動かしてみるとこんな感じ.
おわりに
ライブラリのおかげでテキストも簡単に表示できてしまった.
環境センサでも作り直そうか.


コメント