コロナの候いかがお過ごしでしょうか.先日たくのむというサービスを初めて使いました.専用アプリを使えば背景の変更が出来るようです.Linuxデスクトップ環境でも,USBカメラのデータをパイプのような形で加工して仮想カメラデバイスに出力できないかと思って,OBS Studioを使って遊んでみたので書き出しておきます.
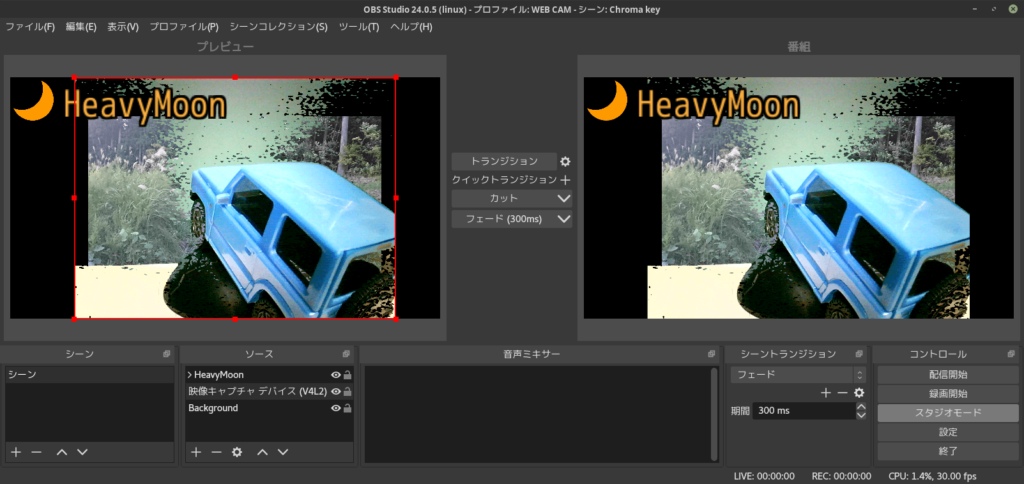
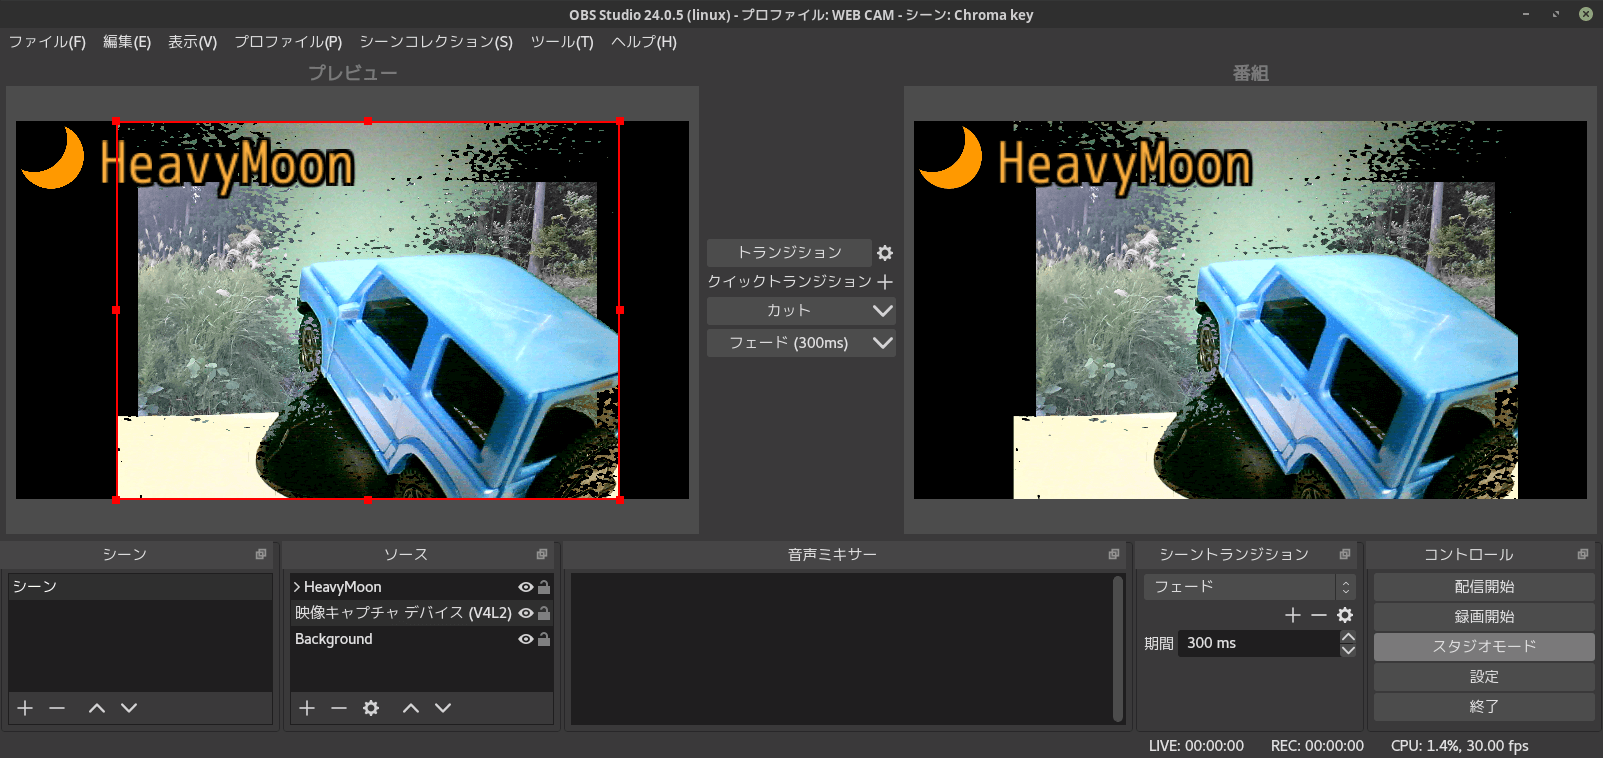
完成イメージはこんな感じです.
USBカメラ → OBS-Studioで加工 → 仮想ビデオデバイス → たくのむ
OBS Studioについて
ビデオ録画や生放送用のOSSです.コミュニティベースのプラグインがたくさん用意されています.
WindowsだとVirtualCamというプラグインを利用できそうですが,これはLinuxには対応していません.親切なことにLinux版の案内が書いてあるのでこれを使わせてもらいます.
Does this plugin support other platforms?
OBS-VirtualCam 2.0.4
There’s a Video4Linux version . But it only contains the sink part , you have to use it with v4l2loopback.
And there’s no plan on mac version.
先人の足跡
既に似たようなことを考えていた人を見つけてしまいました.やりたいのはまさにこれ.トレースします.
作業の流れはざっくりと次のとおりです.
- カーネルモジュール v4l2loopback をビルドします.
- 仮想ビデオデバイスを作成するのに利用します.
- OBS Studioのプラグイン obs-v4l2sink をビルドします.
- WindowsのVirtualCamに相当するプラグインです.
- 合成したビデオストリームを仮想ビデオデバイスへ出力します.
関連するリポジトリは次の2つです.
導入環境について
メインPCであるCentOS7を利用します.カーネルは5系(kernel-ml)を利用しています.
$ cat /etc/os-release
NAME="CentOS Linux"
VERSION="7 (Core)"
ID="centos"
ID_LIKE="rhel fedora"
VERSION_ID="7"
PRETTY_NAME="CentOS Linux 7 (Core)"
ANSI_COLOR="0;31"
CPE_NAME="cpe:/o:centos:centos:7"
HOME_URL="https://www.centos.org/"
BUG_REPORT_URL="https://bugs.centos.org/"

CENTOS_MANTISBT_PROJECT="CentOS-7"
CENTOS_MANTISBT_PROJECT_VERSION="7"
REDHAT_SUPPORT_PRODUCT="centos"
REDHAT_SUPPORT_PRODUCT_VERSION="7"

$ uname -r
5.6.6-1.el7.elrepo.x86_64
私が使ったものはちょっと残念な性能ですが,ロジクールとかまともなUSBカメラも用意しておきます.
環境構築
Install OBS Studio
RPM Fusionからパッケージをインストールします.このリポジトリを有効にするにはConfigurationのページを参照してください.
$ yum info obs-studio
...
名前               : obs-studio
アーキテクチャー   : x86_64
バージョン         : 24.0.5
リリース           : 1.el7
容量               : 6.5 M
リポジトリー       : installed
提供元リポジトリー : rpmfusion-free-updates
要約               : Open Broadcaster Software Studio
URL                : https://obsproject.com/
ライセンス         : GPLv2+
説明               : Open Broadcaster Software is free and open source
                   : software for video recording and live streaming.
$ sudo yum install obs-studio
Build v4l2loopback
カーネルモジュールを作成するので,カーネルヘッダなどをインストールします.
私の環境ではkernel-mlを利用していますが,通常は kernel-devel kernel-headers の2つをインストールすればOKです.
$ sudo yum install kernel-ml-devel kernel-ml-headers
ビルドしてインストールします.
$ git clone https://github.com/umlaeute/v4l2loopback.git
$ cd v4l2loopback
$ make && sudo make install
カーネルモジュールを読み込んで,ビデオデバイスを作成します.ここではvideo10というデバイスにOBS Camというラベルを指定しています.
$ sudo depmod -a
$ sudo modprobe v4l2loopback devices=1 video_nr=10 card_label="OBS Cam" exclusive_caps=1
$ file /dev/video10
/dev/video10: character special
Build obs-v4l2sink
プラグインのビルドには色々とツールを入れる必要ありますが,ローカル環境をビルドツールで汚したくないのでDocker内でビルドします.ローカルでビルドする場合はDockerの環境整備関連のコマンドは飛ばしてください.
CentOS7のコンテナを作成します.ビルド結果をローカルに持ってくるため,ローカルのディレクトリをDcoker内にバインドマウントしています.ローカルのディレクトリは環境に合わせて適当に指定してください.
$ docker run --rm -it -v $PATH/TO/SHARE/DIRECTORY:/mnt centos:7
Dockerの環境を整備します.
root@docker # cd
root@docker # yum -y install bash-completion wget
root@docker # yum -y groupinstall "Development Tools"
root@docker # wget https://download1.rpmfusion.org/free/el/rpmfusion-free-release-7.noarch.rpm
root@docker # yum -y install ./rpmfusion-free-release-7.noarch.rpm
root@docker # source /etc/profile
ビルドに必要な材料を集めます.
root@docker # yum -y install git qt5-qtbase-devel obs-studio-libs obs-studio-devel cmake3
root@docker # git clone https://github.com/CatxFish/obs-v4l2sink.git
osb-studioもクローンするか,cmakeファイルを修正します.
root@docker # git clone --recursive https://github.com/obsproject/obs-studio.git
root@docker # vi external/FindLibObs.cmake
root@docker # git diff
diff --git a/external/FindLibObs.cmake b/external/FindLibObs.cmake
index ab0a3de..7758ee3 100644
--- a/external/FindLibObs.cmake
+++ b/external/FindLibObs.cmake
@@ -95,7 +95,7 @@ if(LIBOBS_FOUND)

    set(LIBOBS_INCLUDE_DIRS ${LIBOBS_INCLUDE_DIR} ${W32_PTHREADS_INCLUDE_DIR})
    set(LIBOBS_LIBRARIES ${LIBOBS_LIB} ${W32_PTHREADS_LIB})
-   include(${LIBOBS_INCLUDE_DIR}/../cmake/external/ObsPluginHelpers.cmake)
+   include(/usr/lib64/cmake/LibObs/ObsPluginHelpers.cmake)

    # allows external plugins to easily use/share common dependencies that are often included with libobs (such as FFmpeg)
    if(NOT DEFINED INCLUDED_LIBOBS_CMAKE_MODULES)
ビルドします.
root@docker # cd obs-v4l2sink
root@docker # mkdir build && cd build
root@docker # cmake3 -DLIBOBS_INCLUDE_DIR="../../obs-studio/libobs" -DCMAKE_INSTALL_PREFIX=/usr ..
root@docker # make -j4
ビルドが成功したら必要なファイルとディレクトリをローカルに回収します.
root@docker # cp -a obs-v4l2sink/build/v4l2sink.so obs-v4l2sink/locale/ /mnt
回収したファイルとディレクトリをローカルの次の位置に配置します.
/usr/lib64/obs-plugins/v4l2sink.so
/usr/share/obs/obs-plugins/v4l2sink/locale/
これで環境構築完了です.
OBS Studioとカメラで遊ぶ
OBSには色々な機能があります.
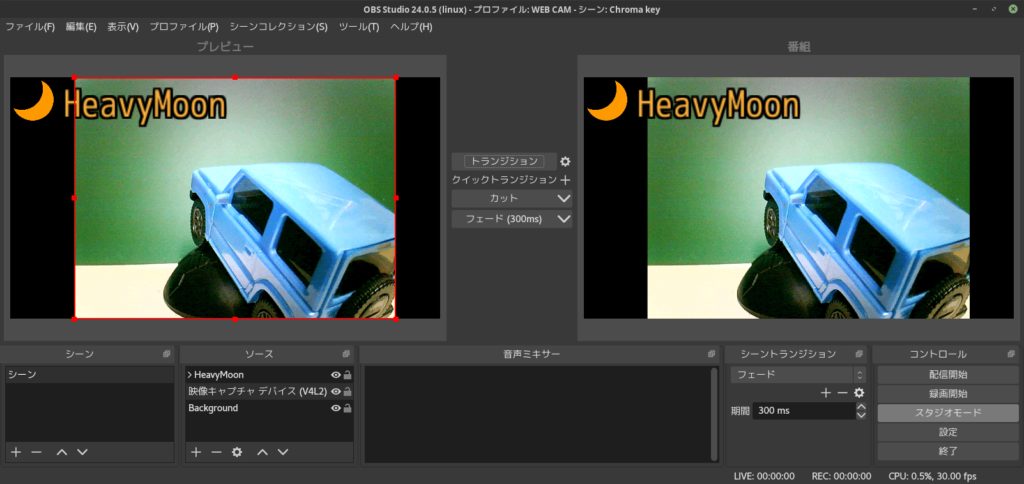
日本では稀にガチャピンが消える事案が発生しますが,OBS Studioでもクロマキーを利用できます.
背景画像やカメラを設定して,緑の部分をクロマキーで抜いてみました.


うーん...中央が白っぽくなってうまく抜けない...まともなUSBカメラがほしい...
設定が諸々完了したところで,ツール>V4L2 Video Outputから出力先として作成したビデオデバイスvideo10を指定すればカメラの準備は完了です.

たくのむなどのアプリにはOBSの出力先であるOBS Cam(video10)を入力として指定すればOKです.
おわりに
OBS Studioを使ってUSBカメラの映像を仮想ビデオデバイスへ出力する方法を整理しました.
世間ではウェブカメラという用語が一般的な気がしますが,それ単体ではウェブ要素がまったくないんですが?なんでウェブなの?
2021/05/03 追記
OBS Studio 26.1.2 (macOS Hotfix) から Linux の仮想カメラをネイティブサポートする様になっているらしい.知らんかった.
26.1 New Features and Additions
- Added Virtual Camera output on macOS [johnboiles/PatTheMav]
- Added Virtual Camera output on Linux (requires v4l2loopback-dkms) [catxfish/cg2121]
- Added the ability to use a separate audio track for the VOD when using Twitch [Jim]
- If using Simple output mode, enable “Enable Advanced Encoder Settings”, and enable “Twitch VOD Track (Uses Track 2)”. Twitch VOD output will then be on audio track 2
- If using Advanced output mode in the Streaming tab, enable “Twitch VOD Track” and select the track you’d like to use for it
- Special thanks to Twitch for assisting during the development of this feature
- Added OpenBSD support [grayed]
- Added the ability to ingest captions coming from Decklink devices via “Decklink Captions” from the Tools menu [DDRBoxman]
- Added hardware decoding options for stinger transitions [WizardCM]
- Added an option to duplicate filters in the right-click context menu of filters [exeldro]
- Added ability to copy and paste a single filter between sources [cg2121]
- Added HLS support and ingests for YouTube [ushadow]
- Added a Replay buffer save event to the frontend API [hgonomeg]


コメント